Nevma: Gesture control for the masses
27 November 2017
Working at Delphi (soon Aptiv) allows me the luxury of being immersed in a high-tech and innovative environment that provides constant inspiration for creating new and exciting gadgets. One day, some colleagues mentioned gesture control being one of the recent trends in automotive. This got me thinking of ways to bring gesture control to the broader audience in an affordable and easy to use package. And thus, Nevma was born.
Nevma (Greek for “gesture”) is a simple to build, program and utilize device that translates your hand gestures into keyboard and mouse input. Just plug it in your USB port and magically wave through your presentations, documents, pictures, songs and the like.
The idea of having a plug-n-play gadget that will allow its user to control a USB host started growing on me when I searched for “gesture sensor” on AliExpress. After opting to view the cheapest results first, I came across the ADPS-9960 sensor modules, by Avago Technologies, that costs just 2$. Gestures are not necessarily always the most comfortable or fast way of controlling something, however it is admittedly one of the most impressive. The sensor can by default recognize a plethora of gestures; swipe left, right, up, down, and moving the hand closer or further from the sensor. So I ordered a few of them to verify their functionality and once that was out of the way it was time to discover how to develop a HID (Human Interface Device) that would control my computer via the USB port.
As far as I am concerned, Human Interface Devices can be implemented in two ways, using the native USB stack on chips with hardware support for it or emulating the USB protocol through software, on a chip that does not normally support it. I begun by choosing the latter due to lower cost of the chips (i.e. the ATtiny85), the DIP package and my curiosity to learn more about emulating an HID with VUSB. Unfortunately this did not go as planned. The first iteration of the Nevma board, despite not having any obvious issues, was not functional. Furthermore, additional obstacles surfaced with this approach. Even if the board would work, it would require a manual driver installation on Windows machines and, to make things worse, would not be the most reliable device around especially when plugged into USB 3.0 ports.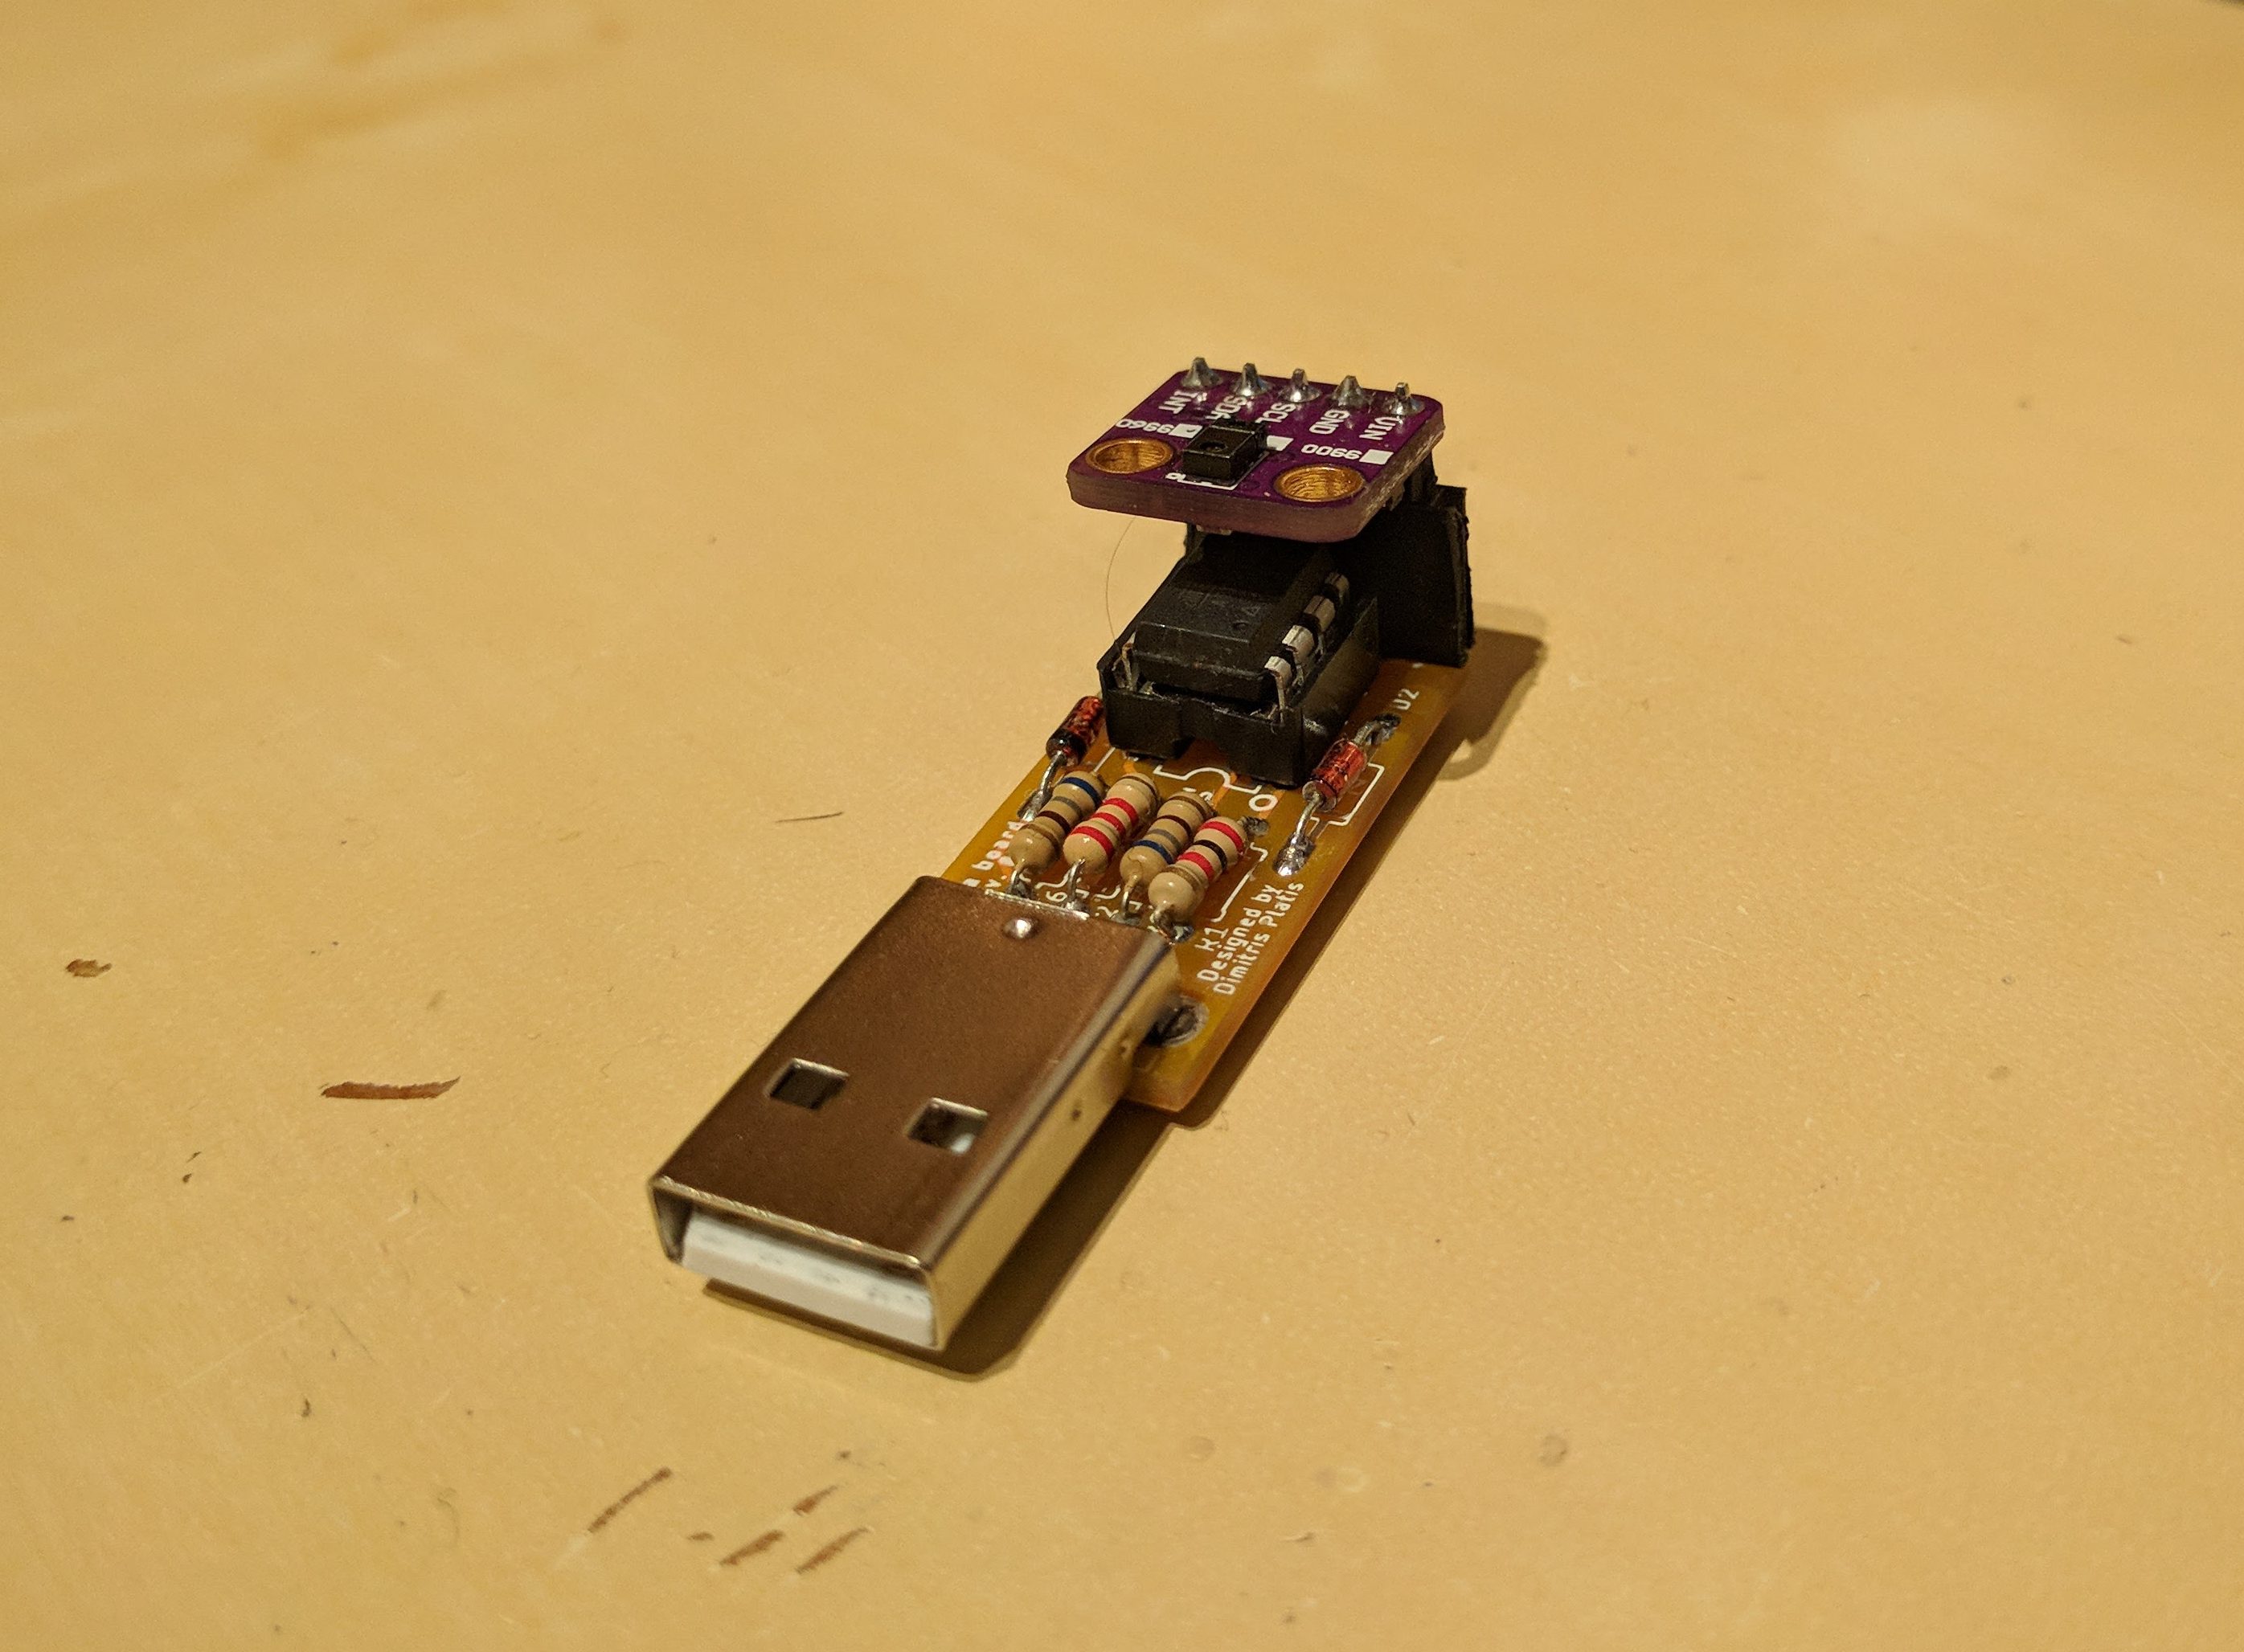
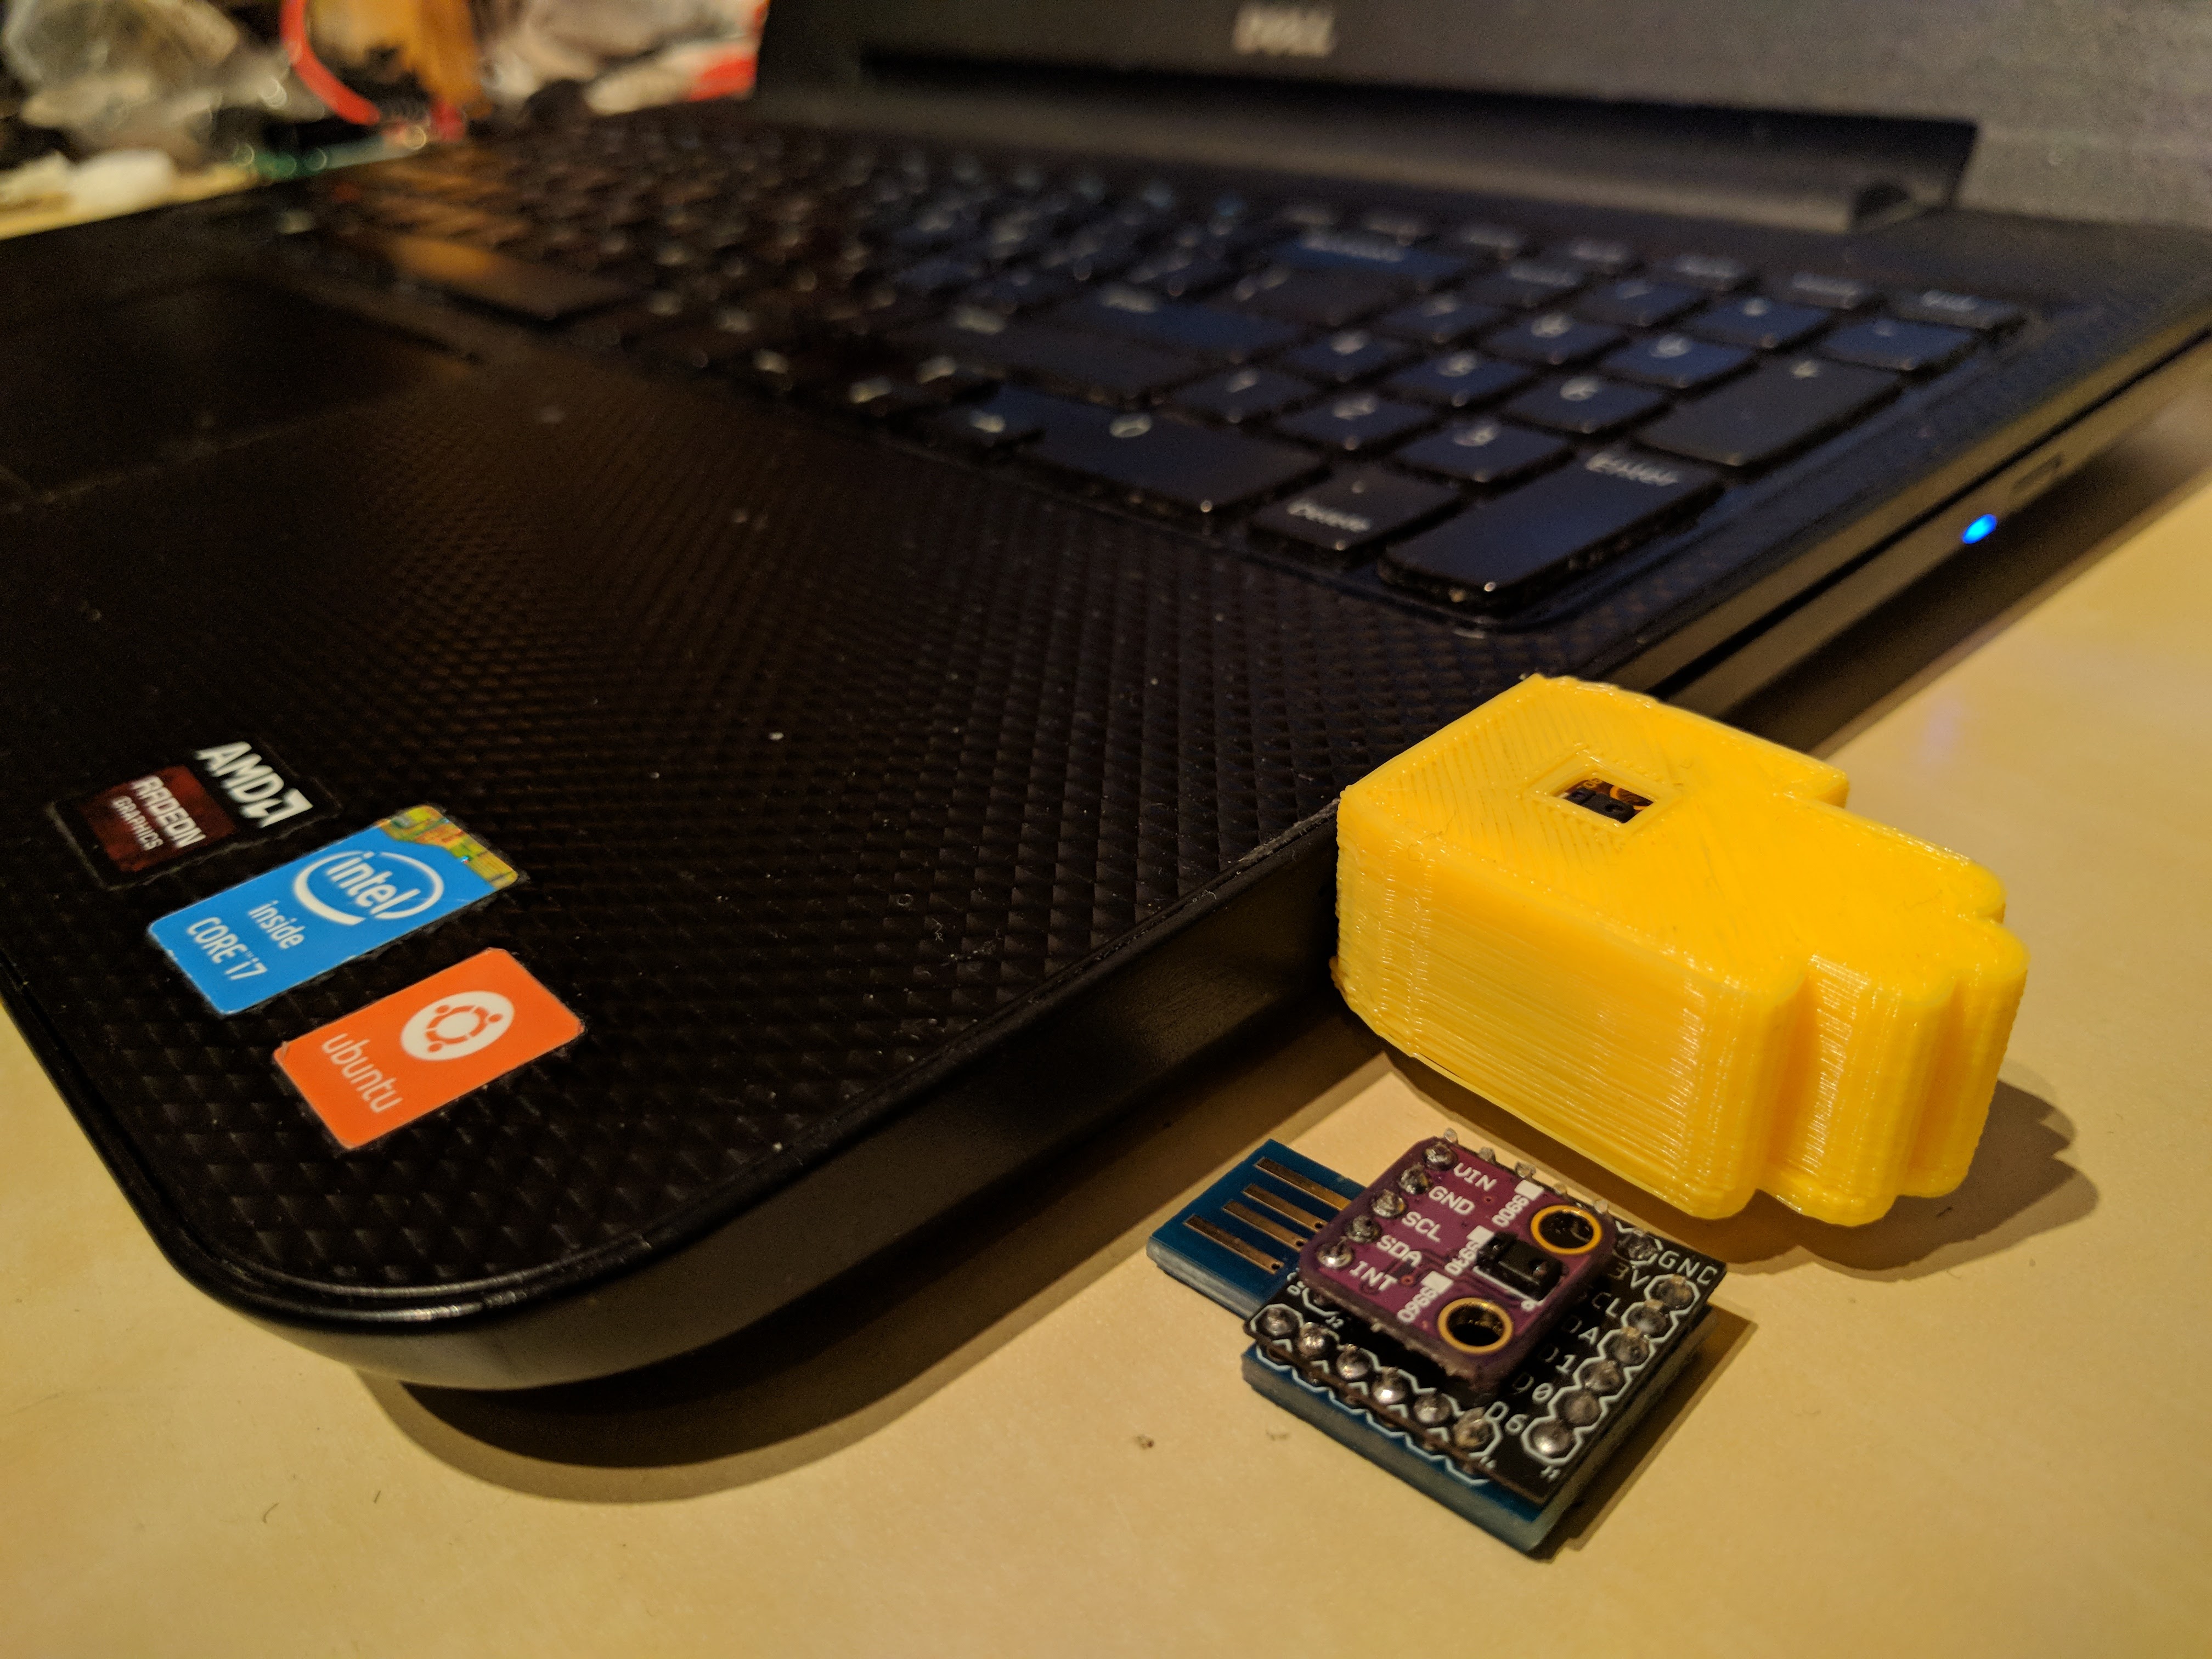
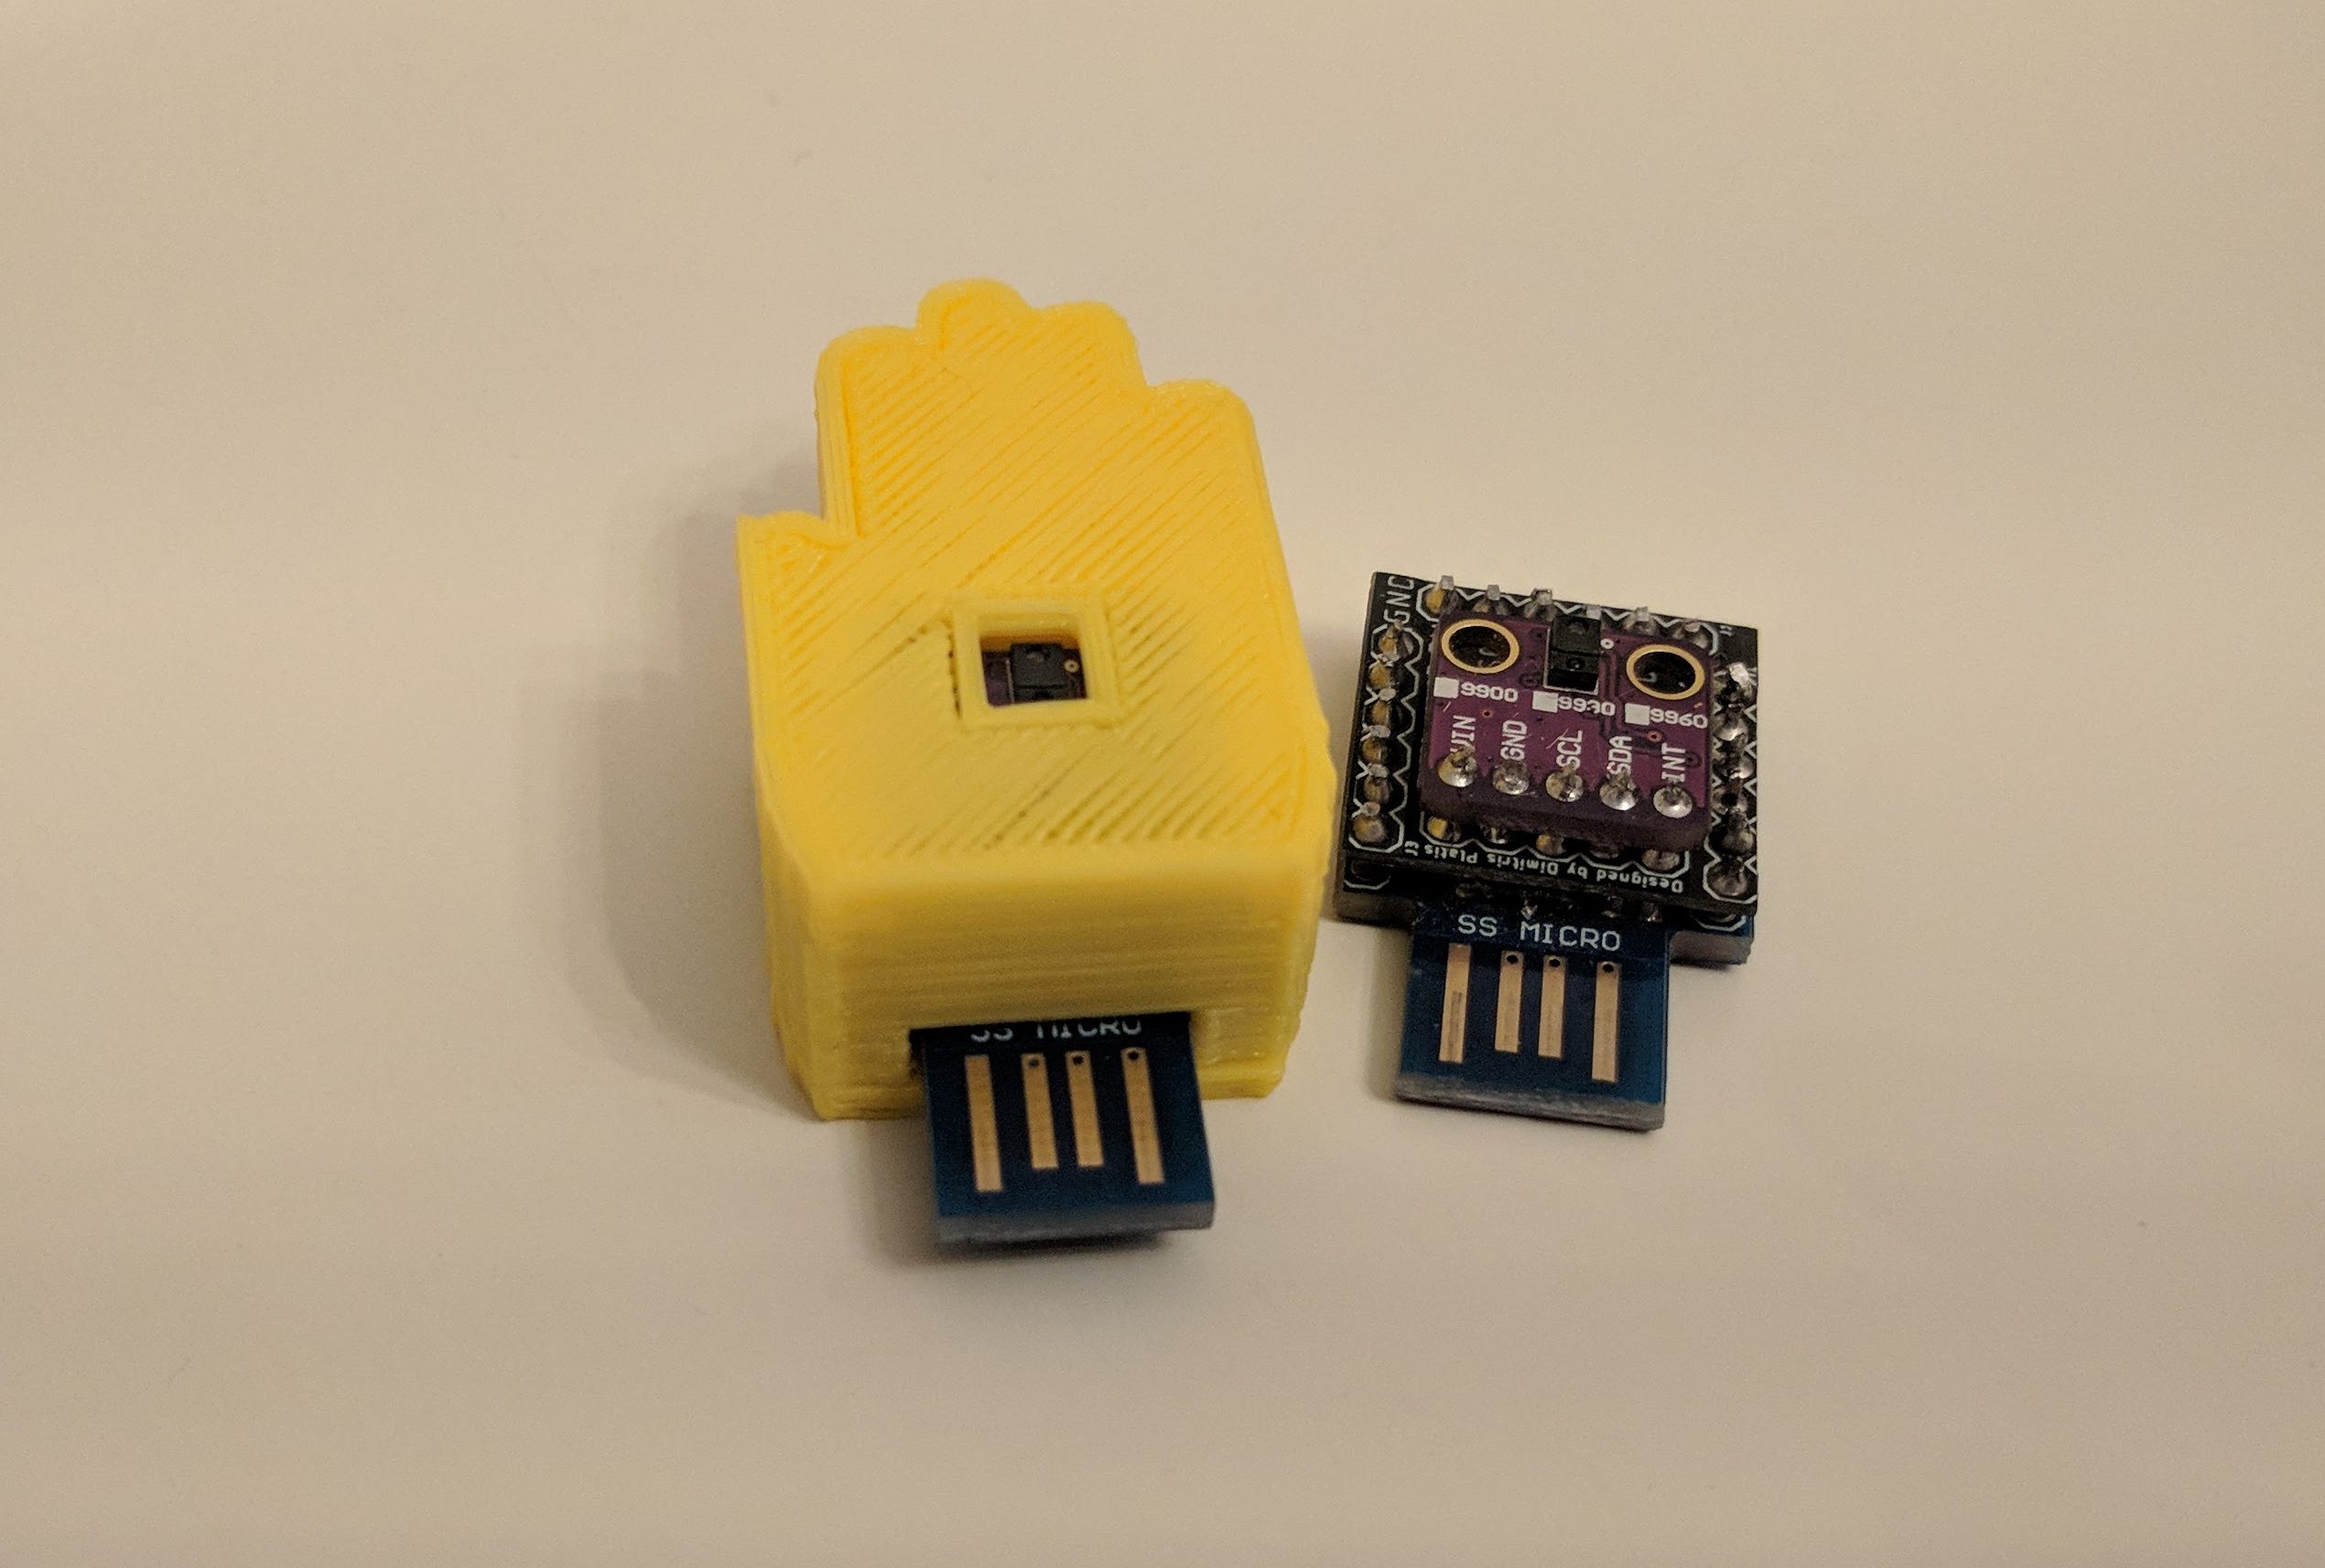
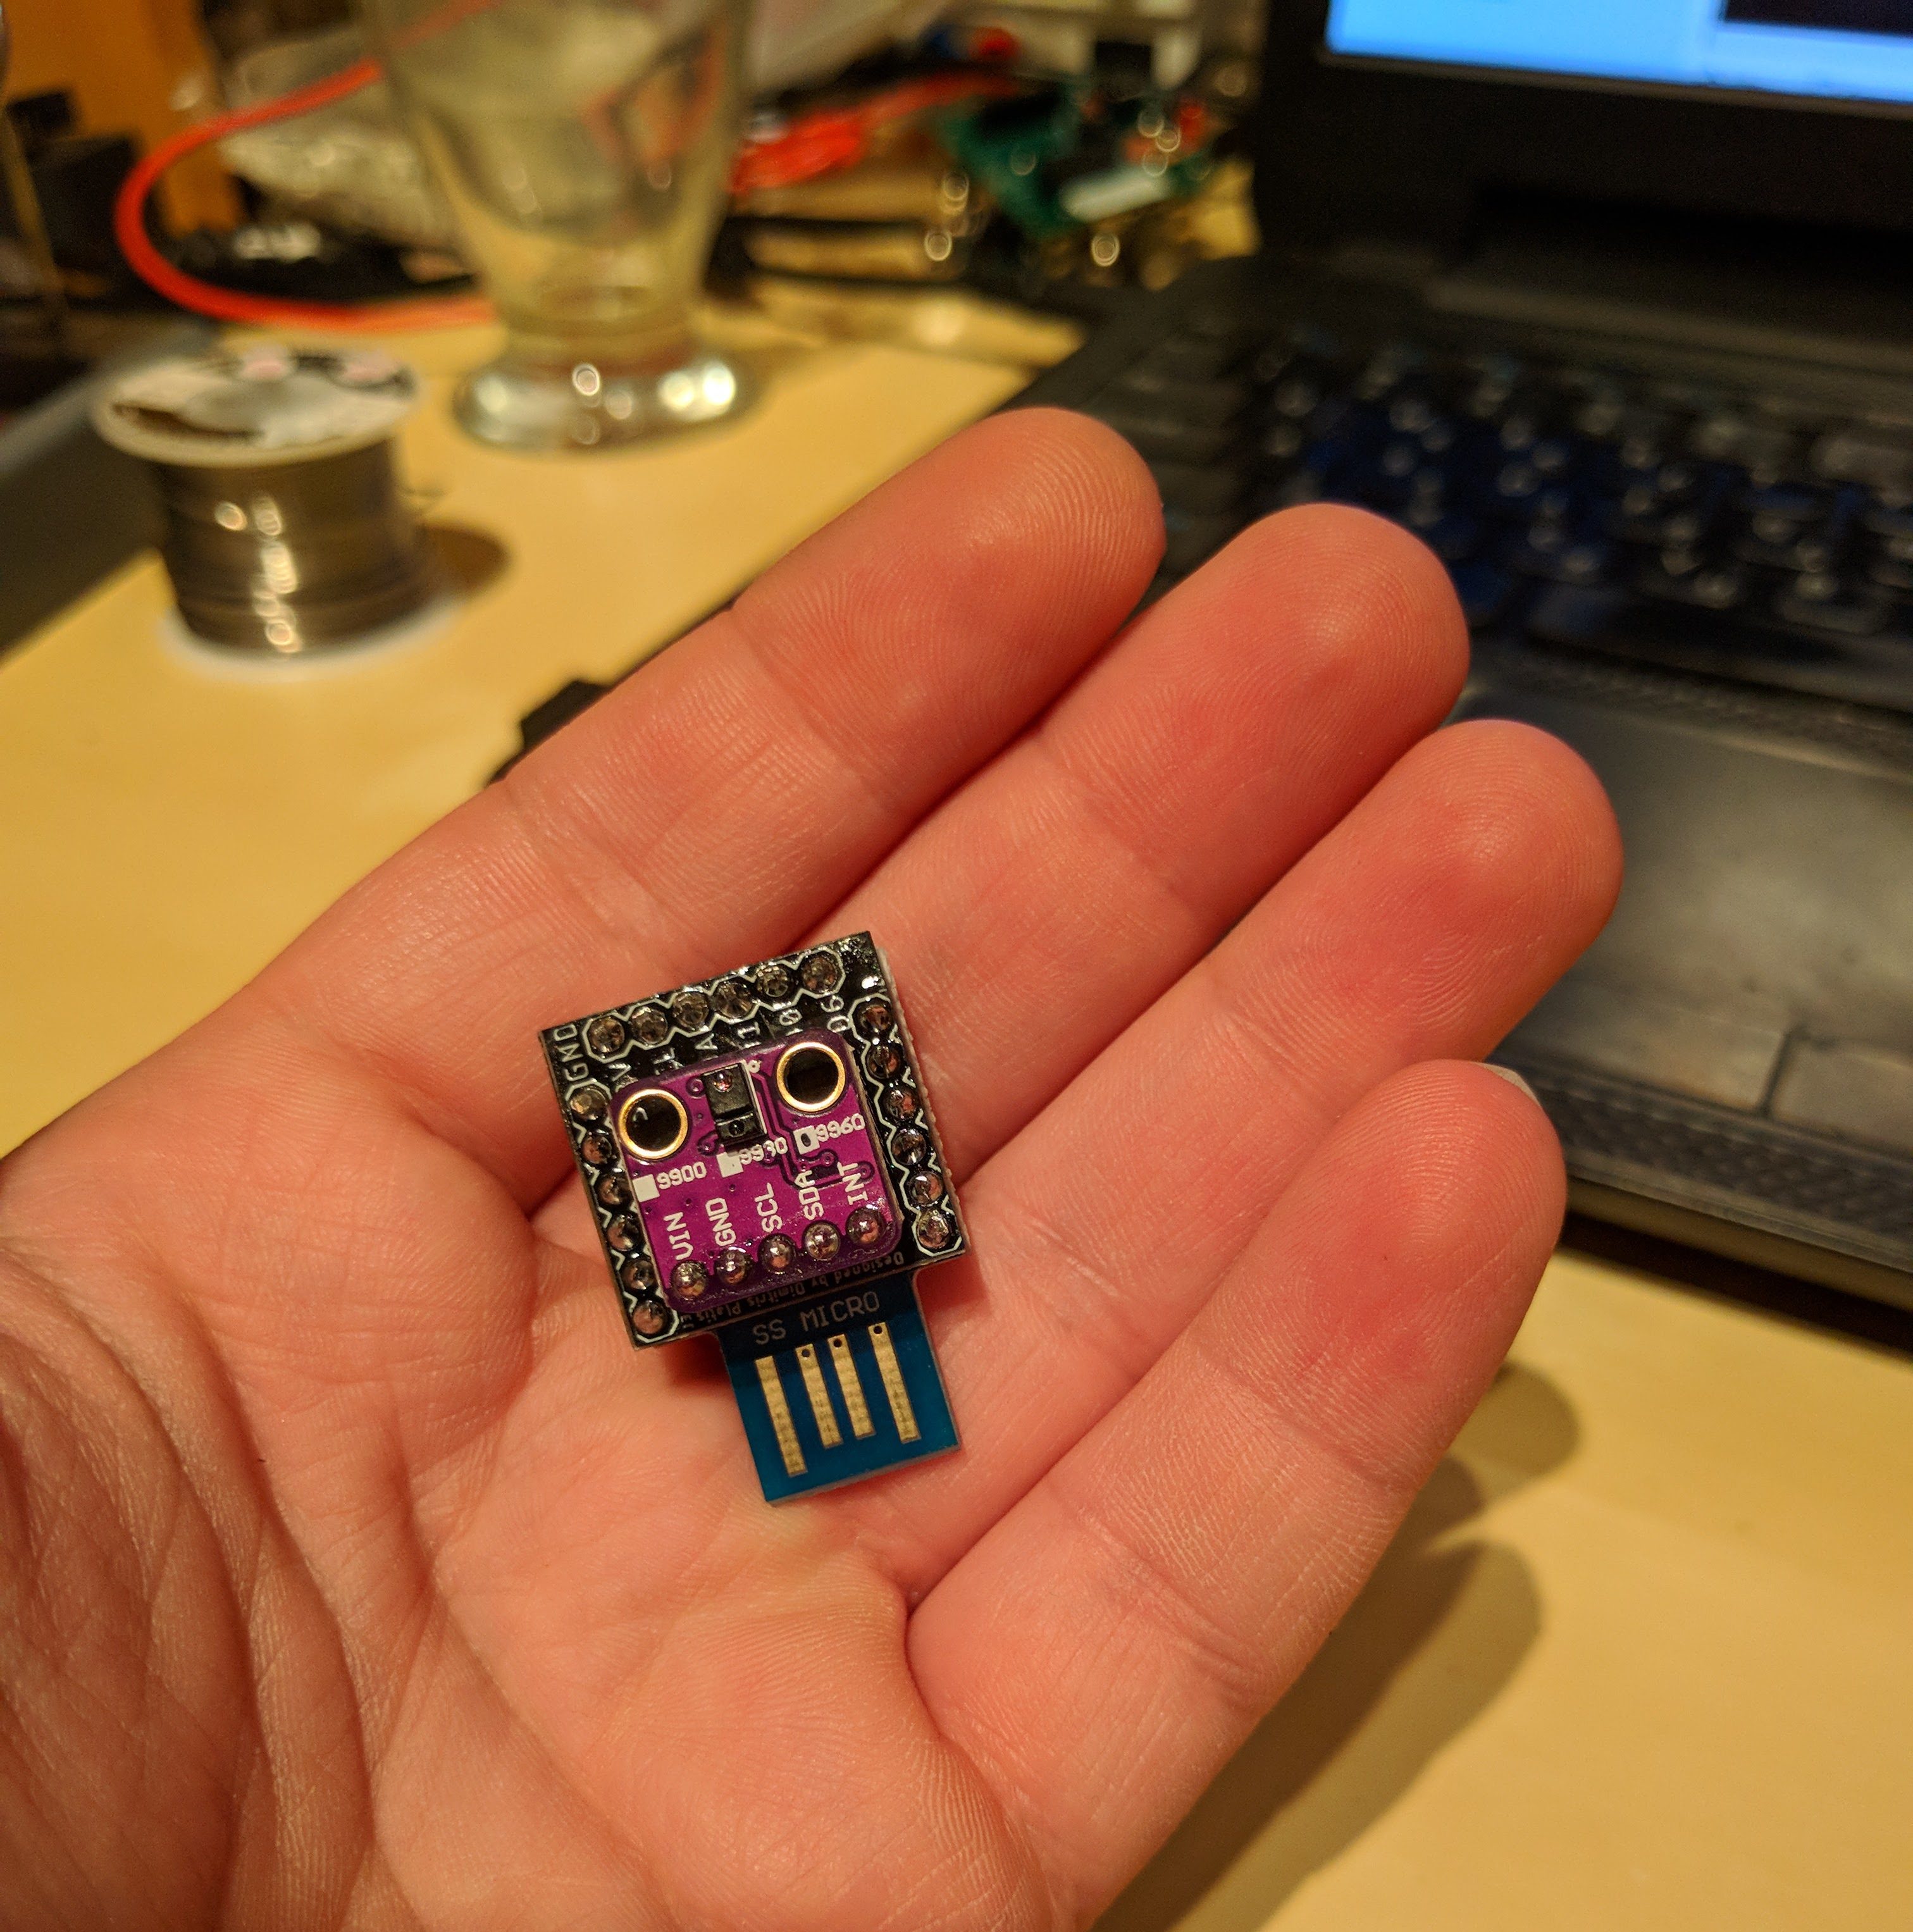
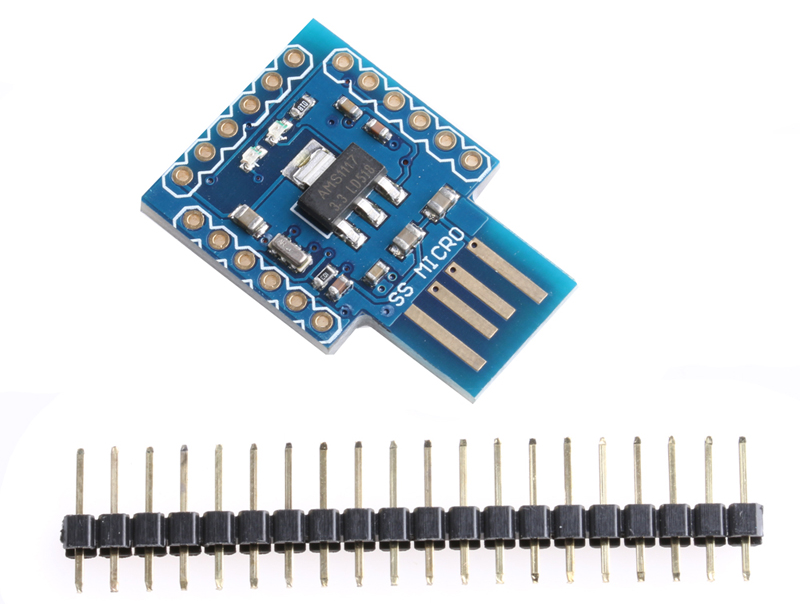
The aforementioned problems pushed me into adopting a solution that involved a chip with native USB support, with the ATmega32U4 being the most viable candidate. This would eliminate the limited compatibility problems and programming it would be a piece of cake as it is thoroughly supported in the Arduino realm. That being said, there was still a serious risk that made me uncomfortable though. The only time I included the ATmega32U4 on my own design I encountered, let’s say, mixed results. As you might imagine, this is also why I have not written about that project yet. 🙂 To avoid repeating old failures, I mitigated the relevant risks by selecting an off-the-shelf component, the Mini SS Micro. It essentially is an ATmega32U4 breakout board with a Type-A USB connector. It is also relatively cheap at 4$, readily available from WIN SOURCE or, in other words, just what was needed for the occasion.
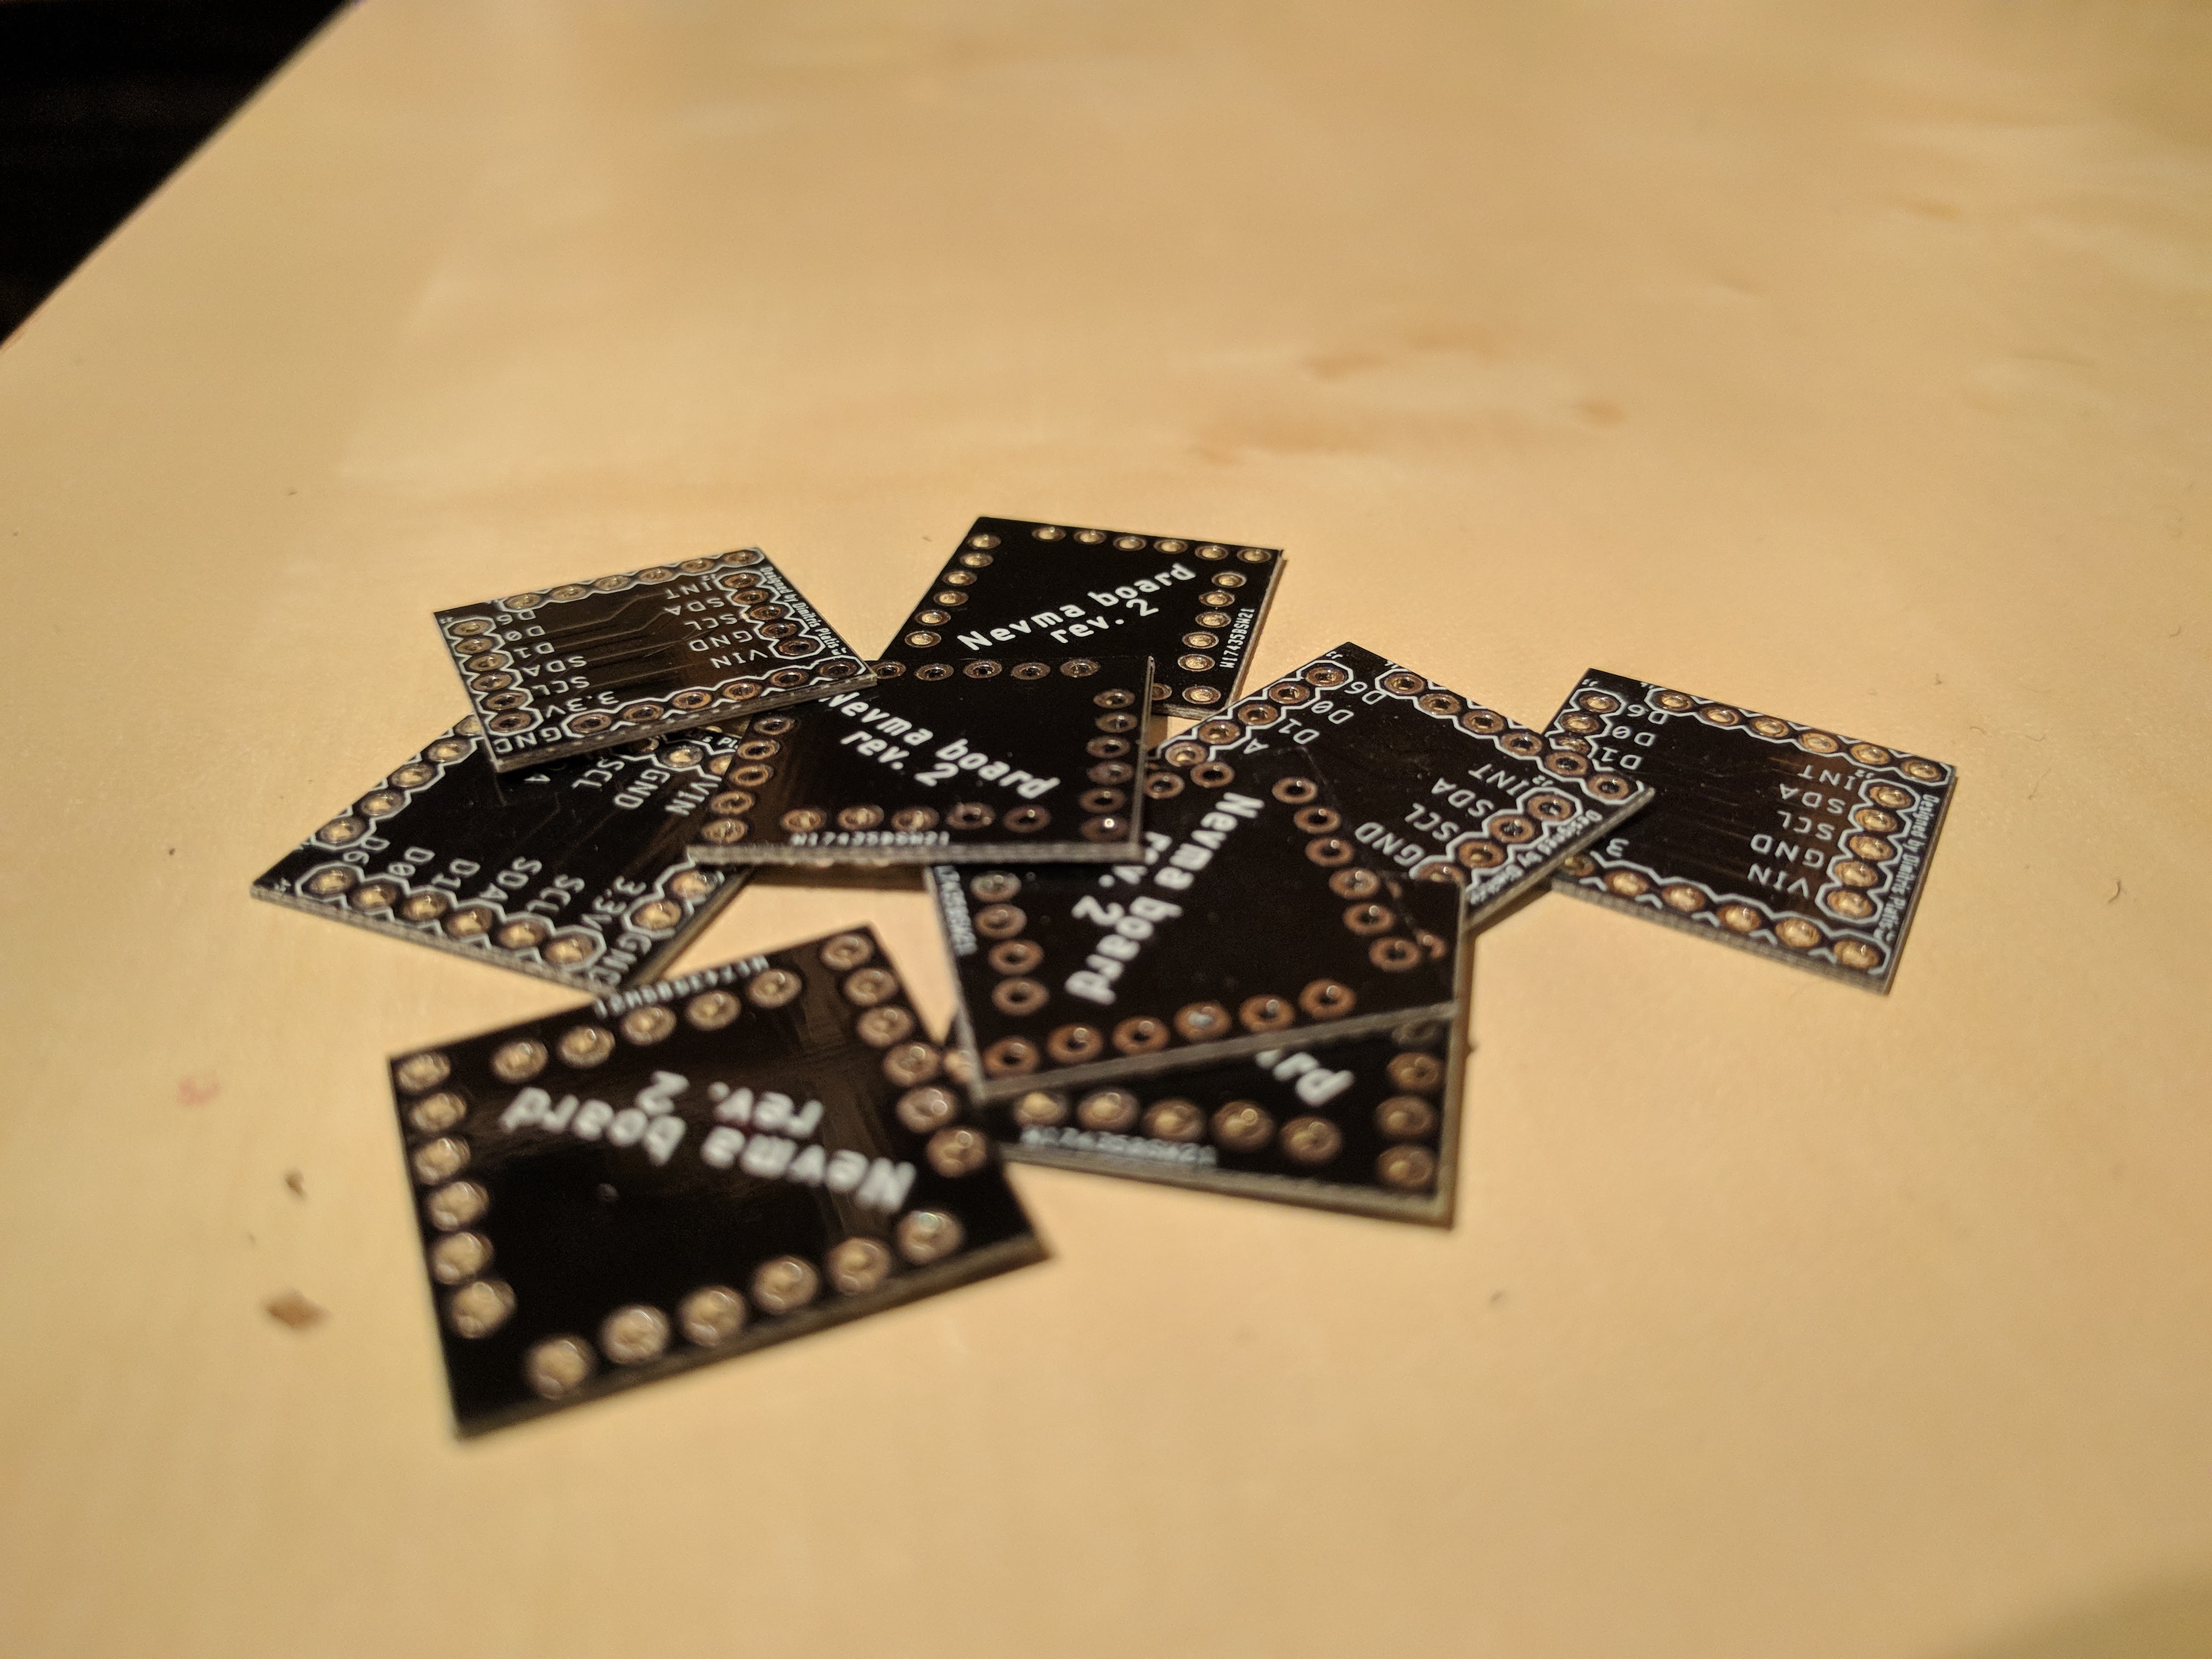
The third and last piece of the puzzle, was a very simple PCB that would connect the microcontroller’s pins to the sensor. The only tricky part with this was figuring out where exactly the pins of the Mini SS Micro where, as I did not have it in my hands at the time and the only information I had was from photographs and videos. This resulted in the next iteration of the board requiring corrections, however it was fortunately good enough to verify the overall functionality. PCBway was chosen yet again to manufacture these 0.6mm thick boards since, to my experience, they offer the best quality/time/price ratio. A cool thing about them, aside of their surprisingly good customer service, is that they are really fast producing the boards. For example, a 2 layer board with green silkscreen is typically ready in just two calendar days!
And that was about it! Three components (you can purchase the PCB here), a 3D printed case (based on Vlad Likh’s design), some simple soldering and your gesture controller is ready! On the software side of things, Sparkfun’s APDS-9960 library is utilized and really makes everything really easy. Reprogramming it to generate your own custom keyboard or mouse input, should be as straight forward as programming an Arduino. Moreover, you can combine the existing gestures to extend the functionality. Additionally, it is theorized that you should be able to detect more intricate gestures by tinkering around with library. All parts except (?) the Mini SS Micro are open source and can be fetched from Nevma’s GitHub repository. So, what will you do with your Nevma? I will use it as a replacement of my wireless presenter to look even cooler during workshops and speeches, but the possibilities are truly endless and experimenting with them should hopefully not be a hassle!