Cryptopuck: Encrypt on the fly
10 October 2017
After finishing a project, I torment myself on what to make next. While riding the bus home one day, an idea struck. How cool would it be if there was a small handheld gadget, able to encrypt USB sticks and SD cards just by plugging them into it. And thus the Cryptopuck was born!
Cryptopuck is intended to provide a portable, discrete and hassle-free solution for encrypting USB flash drives, SD cards or other removable media. Whether you are a reporter on a war-front, a photographer at a demonstration that gets cracked down by the police, a developer at the office in need to transfer proprietary files on USB sticks or just a privacy-minded individual, Cryptopuck is for you. If you need your drive to be encrypted without wasting time or attracting attention by pulling out a laptop, just plug it in Cryptopuck and… it is encrypted! Only the holder of the private key can decrypt them, enabling you to plausibly claim incapable of decrypting the files, as the private key could be handled by somebody else, e.g. your customer or boss. It uses public key cryptography, so even if the Cryptopuck falls into the wrong hands, it is unable to decrypt the files. Βefore deploying the Cryptopuck on the field, keep in mind it is a proof-of-concept system that toys around with the idea of a portable gadget that encrypts your removable media. It incorporates hardware and software which have neither been audited nor designed for security-critical applications. There is absolutely no guarantee that your files will be safely encrypted or remain in tact after using Cryptopuck.
A portable device that encrypts removable media, how hard can it be? Well, apparently not that much. Despite not having any particular previous experience with encryption, I vaguely knew that asymmetric encryption allowed the ciphering of data using a public key that can be shared freely and decrypting with a private key that has to be safeguarded and kept, well, private. I assumed this should be the way to go instead of symmetric encryption where data is encrypted and decrypted using the same key, e.g. a password. This is preferred since the Cryptopuck could fall into the wrong hands or its owner “coerced” to supply the key to decipher the files.
Not knowing any better, the first thought was to use a trusted 8-bit microcontroller to do the job. The idea was to have the gadget in a low power state when inactive, turn it on when a drive is inserted, mount it and then encrypt it. To my surprise, I easily found a library with Arduino implementations of many well known cryptographic algorithms. However, as one would expect 8-bit microcontrollers are way too slow to handle considerable amounts of data and are not so secure when it comes to generating random numbers. Moreover, I also realized that asymmetric algorithms are not designed to encrypt en masse, i.e. files, since this is neither quick nor necessarily safe. Apparently, the standard approach includes encrypting data symmetrically with a randomly generated key and then encrypting that key asymmetrically. It was at that moment the idea of using a low-end microcontroller was buried away.
What was the next step then? Well, when I am not sure how something is done and/or I want to do it fast, I go for Python and as I have a couple of Raspberry Pi Zero’s lying around, they were the obvious choice. Additionally, I had build a portable gadget running on the Zero in the past, so the know-how on the hardware side of things was already there. Encrypting in Python, appears synonymous with PyCrypto and what got me started was Eli Bendersky’s awesome example. From that point on, it was pretty much straight forward: Generate a random 32 byte “password”, use it to encrypt the files with AES-256, encrypt the random “password” using the public key and place it among the encrypted files. Furthermore, to make it harder for a potential perpetrator to infer conclusions on the data, the filenames and file structure are also encrypted. Additionally, pyinotify was adopted to detect new media volumes getting mounted on the system in order for them to get encrypted. At the same time, a LED light indicates the Cryptopuck’s current operational state. The lamp is continuously on when the system is ready to encrypt and is blinking while the encryption process is running.
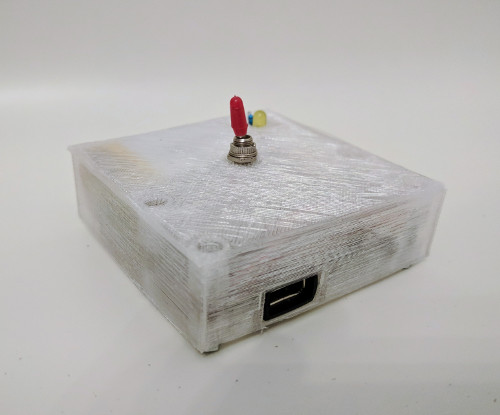
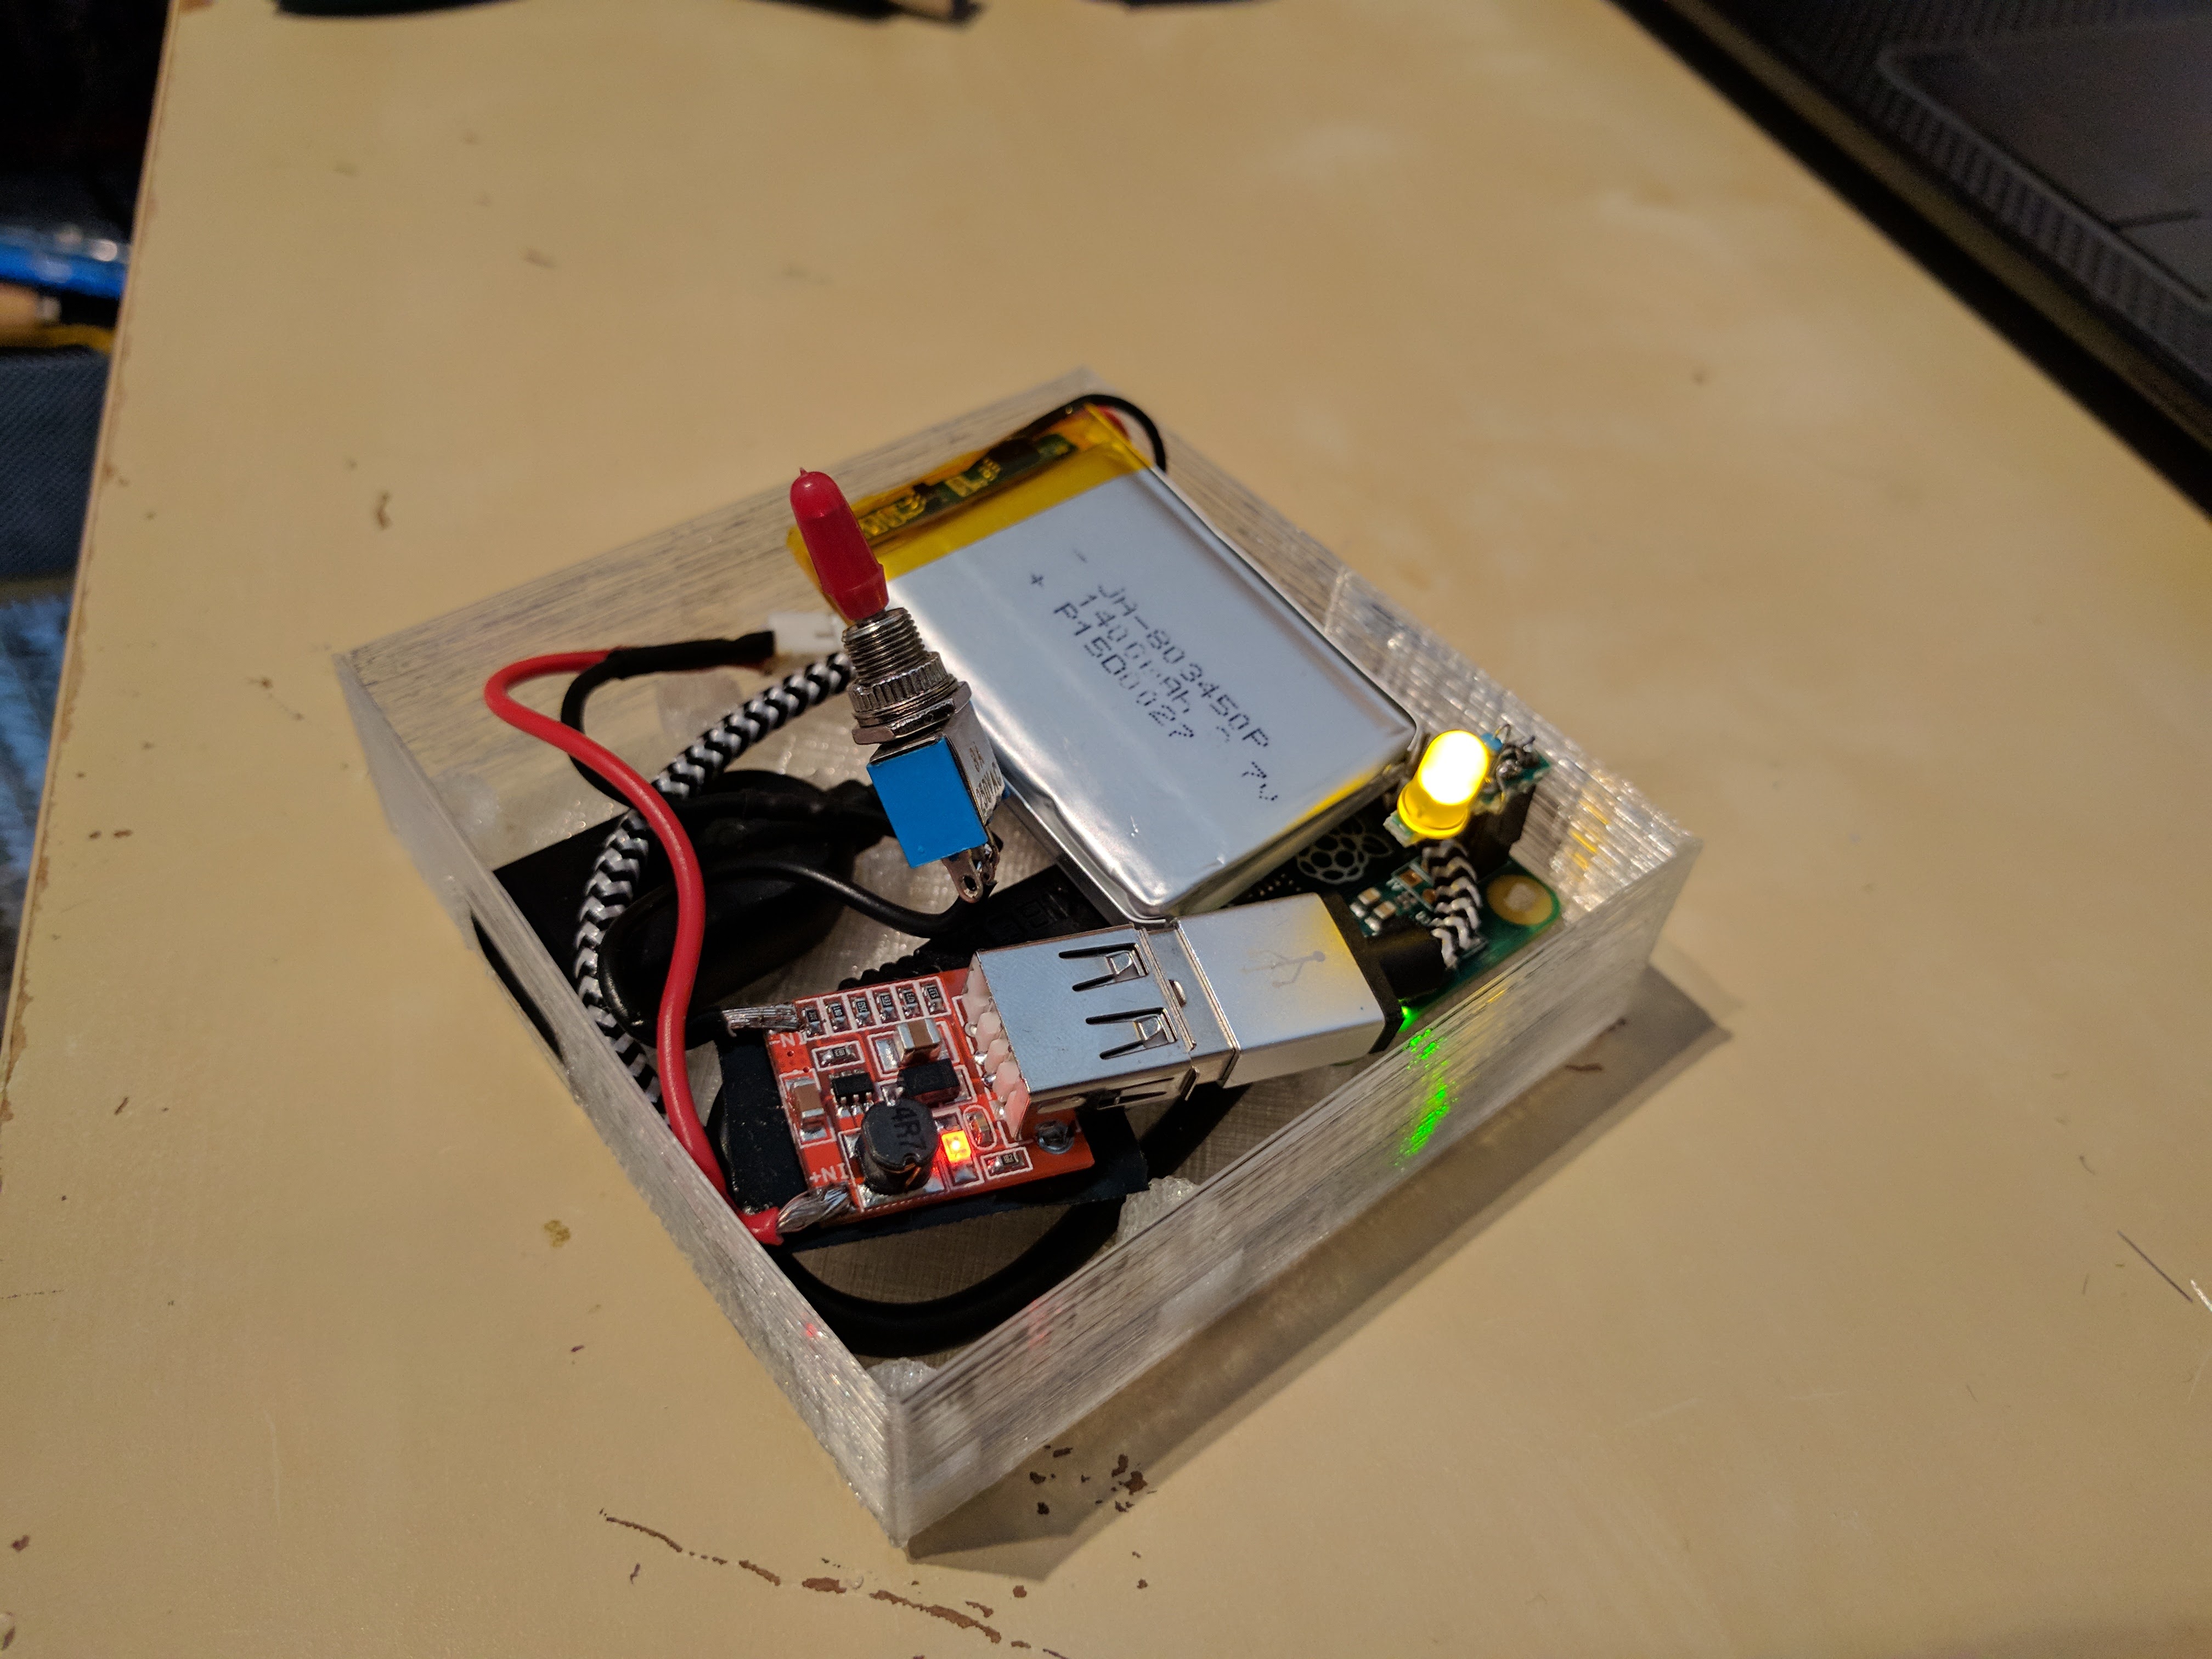
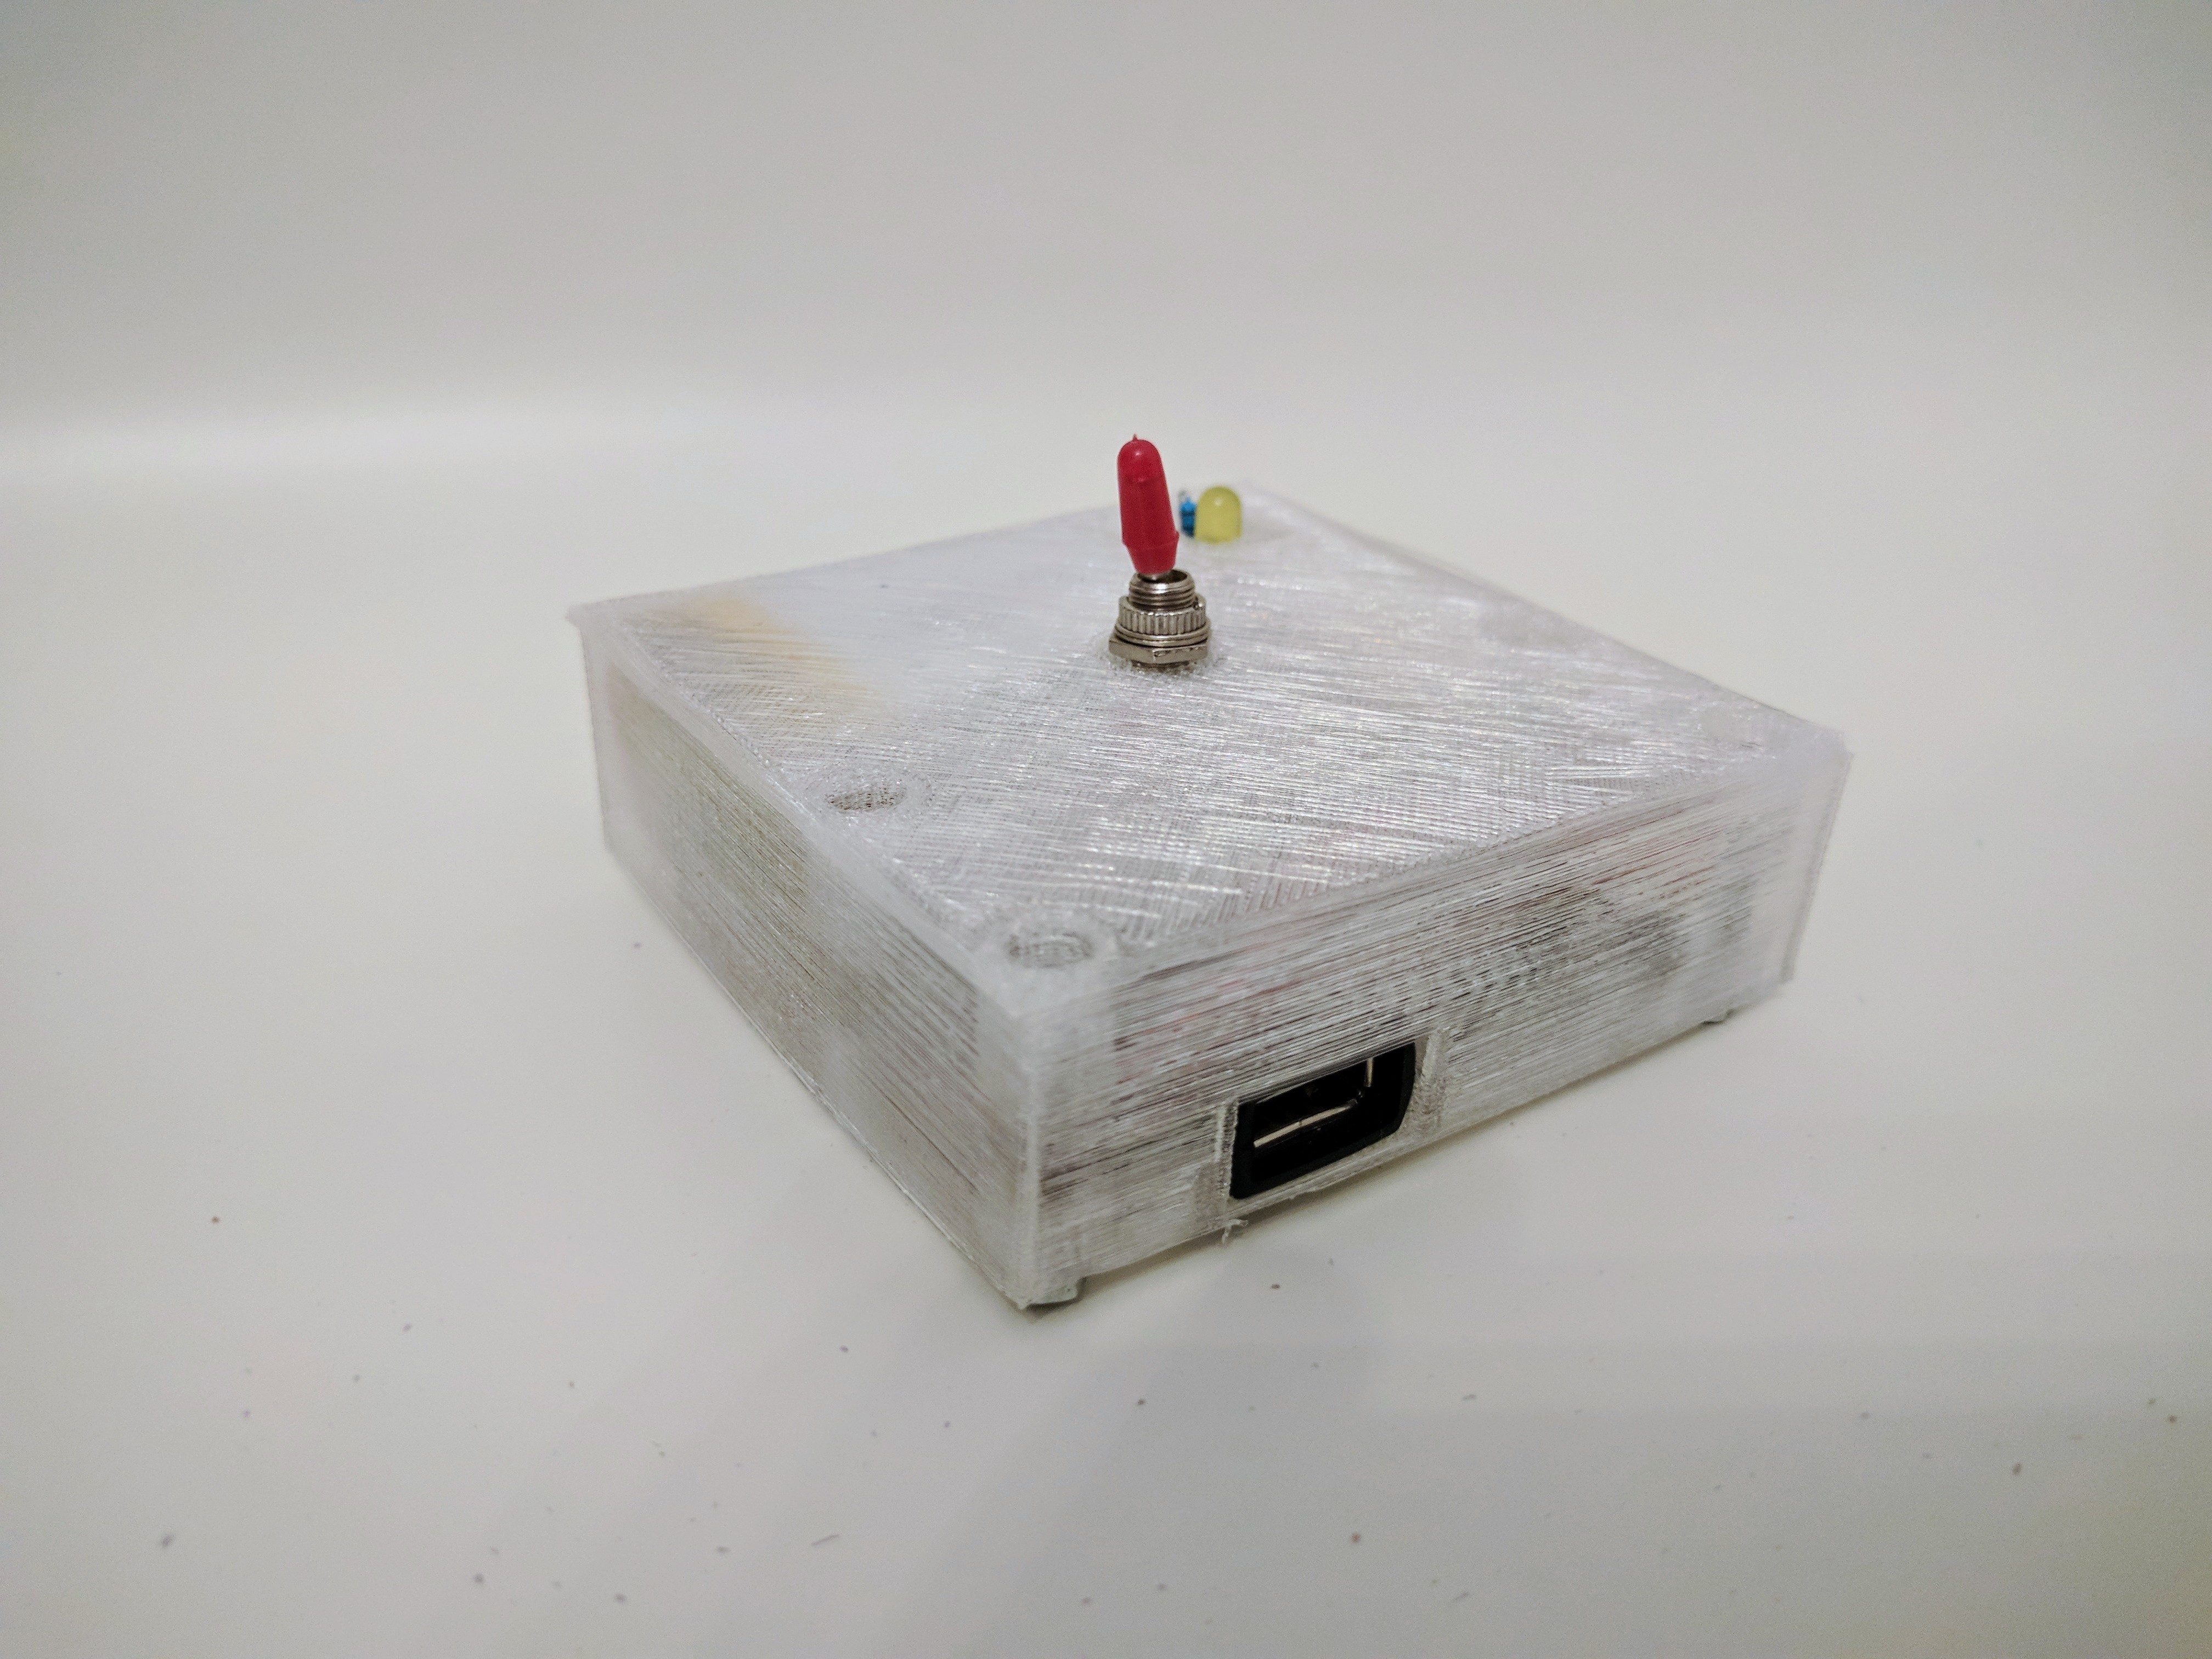
After developing the solution on my laptop I faced my, possibly, most serious obstacle: The headless Raspberry Pi image I was using would not automatically mount new drives as they get attached. I spent about 2 days, fruitlessly trying to figure out a way, until I mentioned my problem during the morning coffee at work and my colleague Jimmie pointed out that udiskie was what I needed. And indeed it was! After putting all pieces of the puzzle together, software was ready. The Raspberry Pi was able to encrypt whatever drive I would insert into it and then I could decrypt the files and restore the file structure on my computer. The final step involved using TinkerCAD to create an enclosure for all the electronics, i.e. a LiPo battery, the Raspberry Pi Zero, a micro-USB OTG cable, a step-up converter to power the RPi, a LED light and a switch to turn the Cryptopuck on and off. It is not the most aesthetically pleasing box you have seen, but, hell… it works! :)
As always, the project is open sourced software and hardware wise. You will find all necessary resources on the Cryptopuck’s GitHub repository published under an Apache license. Last but absolutely not least, do not forget to check out the demo video I made below. As you can see, Cryptopuck is not very fast but that would not be the case if we were to upgrade the hardware and optimize the system.
